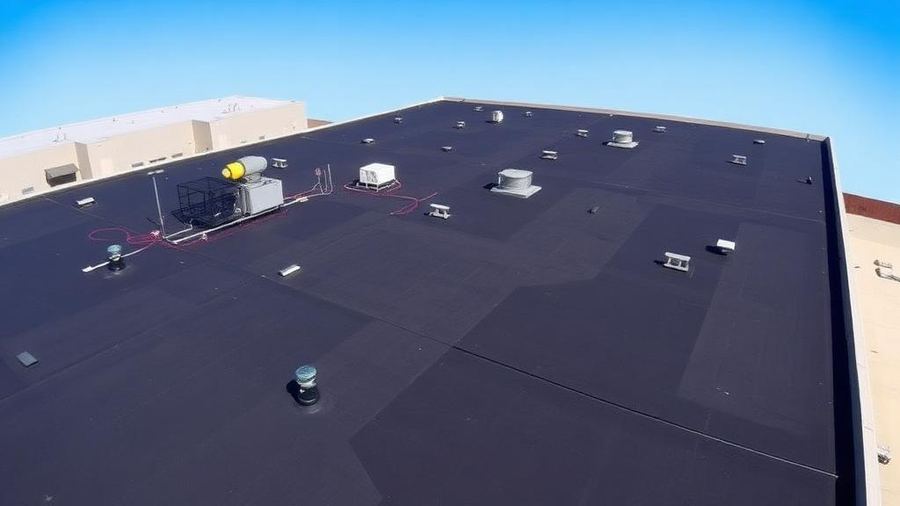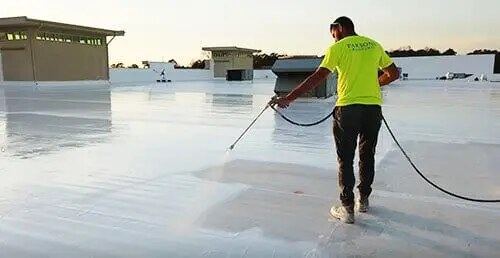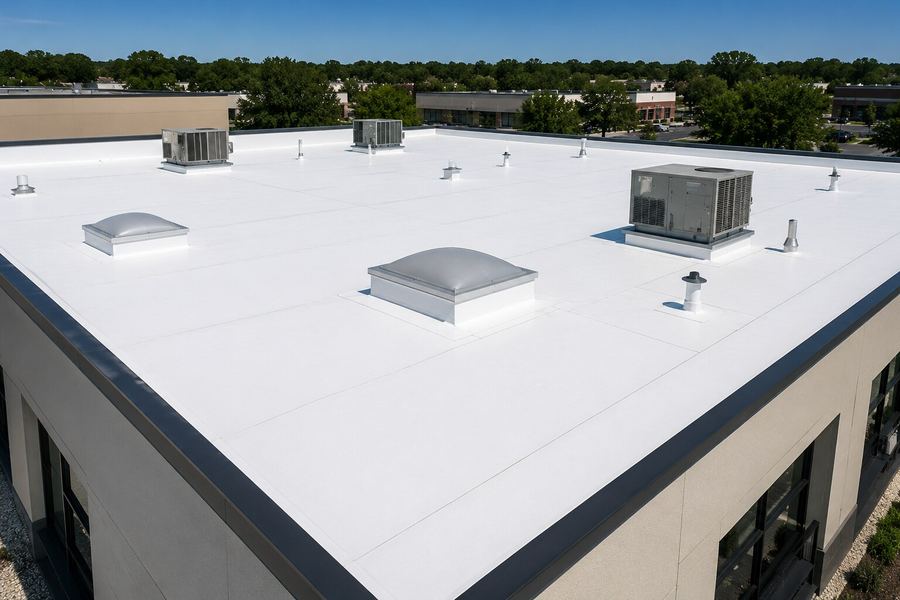
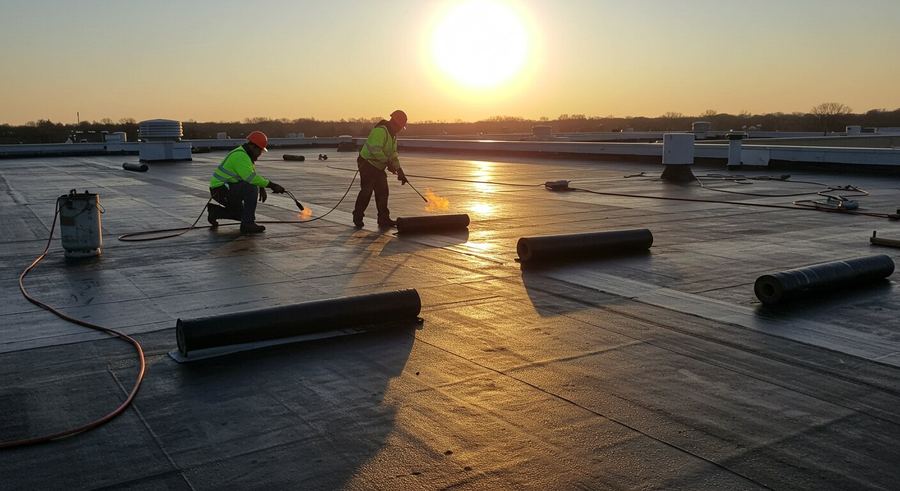
Quick answer: After storm damage, in order: make the building safe, stop active water intrusion with a temporary dry-in, photograph everything before it is disturbed, notify your insurance carrier, get a written repair scope from a commercial roofer, and only then proceed to the permanent repair. Documentation in the first 48 hours is what determines whether the claim is paid in full.
Nor'easters, summer thunderstorms, and the occasional tropical system all reach New Jersey, New York City, and Long Island, and every one of them leaves commercial roofs on our emergency list. The damage itself is usually straightforward to repair. What separates an expensive storm from a manageable one is what the owner or manager does in the first two days. Here is the order that works.
Step 1: Make the Building Safe
Before anything else, deal with hazards. If water is near electrical panels, fixtures, or equipment, shut off power to that area. If ceiling tiles or drywall are sagging with water, keep people out from under them. If rooftop equipment has shifted or debris is on the roof, do not send staff up; a damaged roof in wind is not a safe place for anyone without fall protection. Roof access should wait for a roofing crew.
Step 2: Contain the Water Inside
Move inventory, equipment, and furnishings out from under active leaks. Put containers under drips. Pull wet carpet and insulation if you can do so safely, because the longer it stays wet the more it costs. Photograph all of this as you go; interior damage is part of the claim.
Step 3: Get a Temporary Dry-In
Call a commercial roofing contractor for emergency service. The first job on the roof is stopping the water: tarping, temporary patching, clearing drains that are backing up, and securing any membrane the wind lifted so the next gust does not make it worse. This is a temporary measure to protect the interior, not the permanent fix, and it should be documented as such for the claim.
Step 4: Document Before Anything Is Disturbed
This is the step most owners get wrong. Insurance adjusters need to see the damage as the storm left it. Before repairs begin:
- Photograph the roof damage from multiple angles, with something for scale where possible
- Photograph displaced equipment, debris, and where it came from
- Photograph every interior leak location, stain, and damaged material
- Note the date and time of the storm and when damage was discovered
- Save any weather alerts, news reports, or National Weather Service data for the date
- Keep receipts for emergency tarping, water extraction, and anything else spent on containment
A good roofing contractor documents the roof side of this as part of the emergency call and gives you the photos and a written assessment for your file.
Step 5: Notify Your Insurance Carrier
Most commercial policies require prompt notice of a loss. Call the carrier or your broker, open the claim, and get a claim number. Send the documentation package from step 4. Ask what the adjuster will need and whether they want to inspect before permanent repairs begin. Most carriers expect you to take reasonable steps to prevent further damage, which is exactly what the temporary dry-in is; do not wait for the adjuster to stop the water.
Step 6: Get a Written Repair Scope
Once the roof has been assessed, get a written scope for the permanent repair. It should describe the damage, the cause, the repair method, the materials, and the schedule, and it should be separate from the emergency response invoice. This is the document the adjuster compares against their own estimate, so specificity matters. A scope that says storm damage repair and a number will get questioned. One that itemizes membrane replacement in a defined area, new flashings at specific curbs, and drain repairs will not.
Step 7: Decide Repair vs. Replacement
Storms sometimes reveal that a roof was already at the end of its life. If the damage is widespread on a membrane that was due for replacement anyway, it may make more sense to replace than to repair, and the claim may cover part of it depending on the policy. This is a conversation to have with both your contractor and your adjuster before committing to a repair on a roof that will need to be replaced next year.
Step 8: Permanent Repair and Closeout
Once the scope is approved, the permanent repair is scheduled. When it is done, get final photos and any warranty documentation for the repaired areas. Update your building file. If the roof is on a maintenance program, note the repair so it is checked at the next inspection.
Before the Next Storm
Most storm damage starts at something that was already loose: a lifted flashing, an open seam, an unsecured rooftop unit, a clogged drain. A pre-season inspection through a maintenance program catches those before the wind does. It is the difference between a building that needs a post-storm walk and a building that needs an emergency call. If you do need the emergency call, this is how we handle it.